Commissioning a custom inflatable for the first time can feel like a leap into the unknown. Unlike ordering printed banners or branded merchandise, you are creating a three-dimensional product from scratch, often at a significant scale. The process involves creative design, engineering, material science, and precision manufacturing. Understanding each stage before you begin means fewer surprises, faster turnaround, and a finished product that matches your vision exactly.
This guide walks you through the complete custom inflatable design process, from the moment you submit your initial concept through to final delivery. Whether you are a marketing manager planning a brand activation, an event organiser sourcing a bespoke arch, or an artist bringing a sculptural idea to life, the steps below explain how to design a custom inflatable.
Step 1: Define Your Concept and Submit Your Brief
Every bespoke inflatable starts with a brief. This is the single most important document in the entire project, because it sets the direction for design, materials, size, and budget. A strong brief does not need to be a formal document. It can be an email, a phone conversation, or even a rough sketch on a napkin, but it should cover several key points.
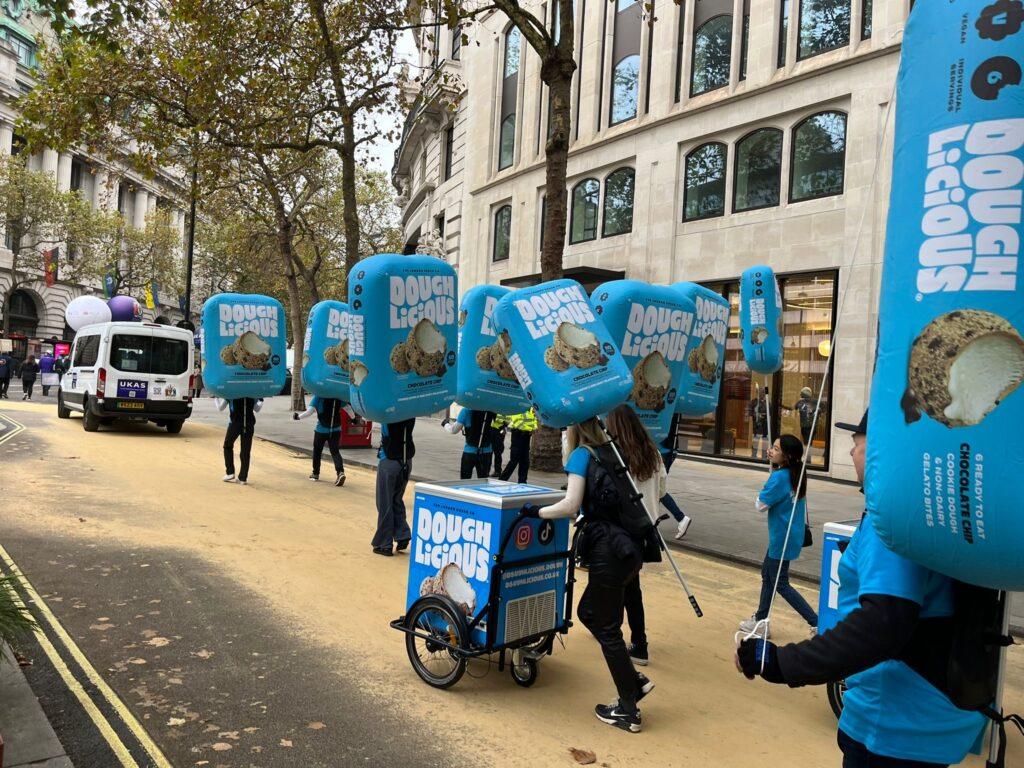
Your brief should include the intended use (outdoor event, indoor exhibition, window display, parade float), the approximate dimensions you are working with, any brand guidelines or Pantone colour references, and your target delivery date. If you have reference images showing the style or shape you are aiming for, include those too. For product replicas, photographs from multiple angles are particularly useful.
At this stage, you do not need to worry about technical specifications. A specialist manufacturer will translate your creative vision into a workable design. What matters is communicating the purpose, the context, and the look you want to achieve. If you are unsure where to start, our guide on how to write a giant inflatables brief covers the preparation side in more detail.
What if You Only Have a Rough Idea?
Many first-time buyers approach the process with nothing more than a brand logo and a general ambition. That is perfectly fine. Experienced inflatable designers work with incomplete briefs regularly. A good manufacturer will ask targeted questions to fill in the gaps: Where will this be displayed? How close will people get to it? Does it need to be freestanding or tethered? Does it need to inflate and deflate quickly for transport? These practical details shape the design just as much as the visual concept does.
Step 2: 3D Design Visuals and Concept Development
Once the brief is agreed upon, the design team produces visual renders of your custom inflatable. This is where the concept starts to take physical form on screen. Using specialist 3D modelling software, designers create detailed visualisations showing the inflatable from multiple angles, typically front, side, rear, and a three-quarter perspective.
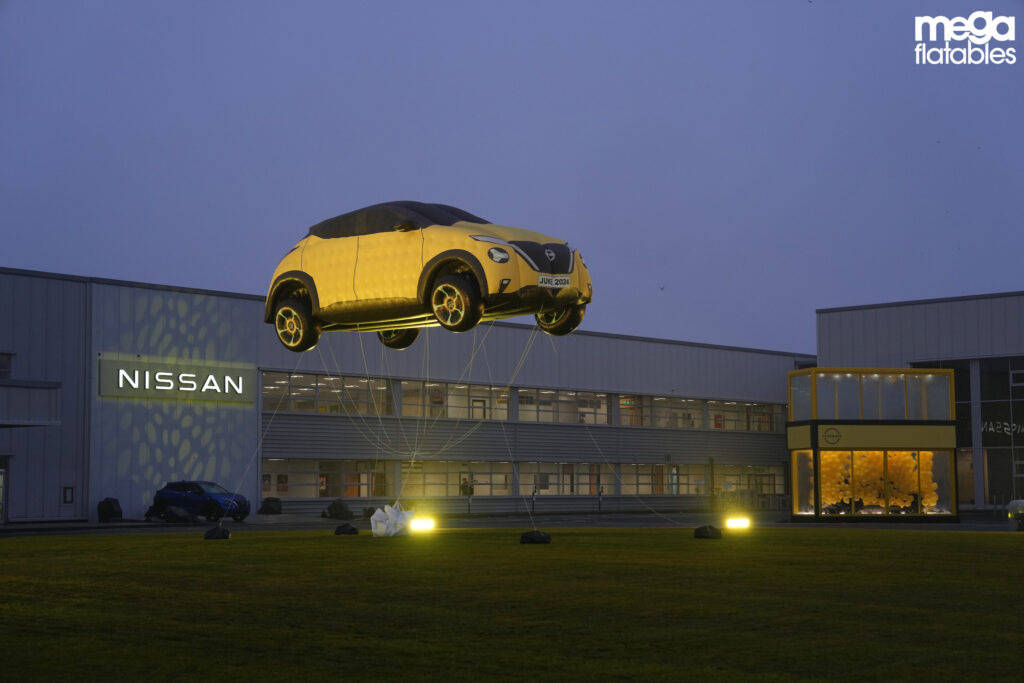
These renders are produced to scale and matched to your exact brand colours. For inflatable product replicas, this stage is critical because the 3D model must capture the proportions, surface details, and branding of the original product. For character designs, the team will refine facial expressions, poses, and any moving elements such as waving arms or rotating features.
Most projects require one to three rounds of revisions at this stage. You might want to adjust proportions, change a colour, reposition a logo, or tweak the overall silhouette. This iterative process is expected. Getting the 3D design right before production begins is far more cost-effective than making changes once materials have been cut.
How Long Does the Design Stage Take?
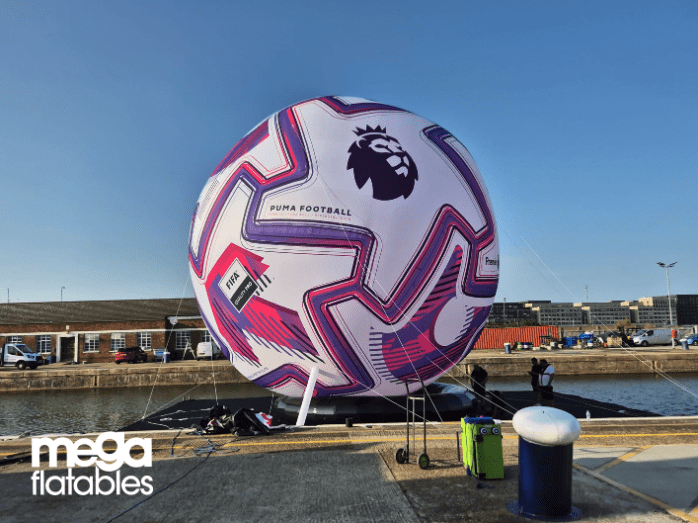
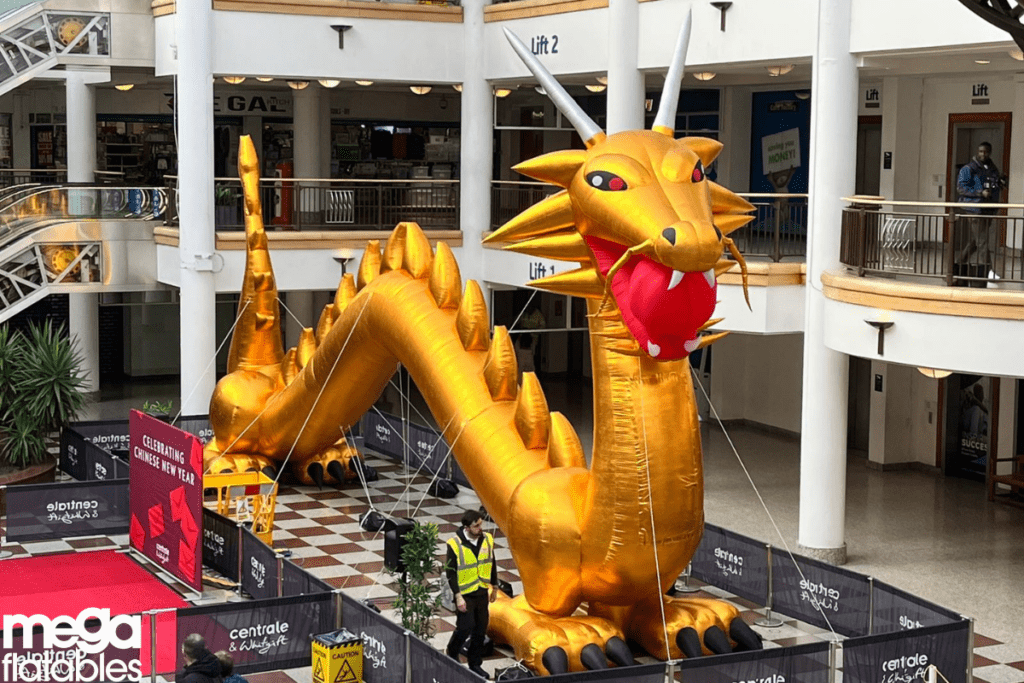
For standard shapes such as inflatable arches or spheres, initial 3D visuals can be ready within hours. More complex bespoke shapes, particularly organic forms like animals, characters, or abstract sculptures, may take one to two working days for the first set of renders. Revision turnaround is typically 24 to 48 hours per round.
Step 3: Client Approval and Sign-Off
Before any manufacturing begins, you will be asked to formally approve the final 3D design. This sign-off confirms the shape, dimensions, colours, branding placement, and any special features such as internal lighting, velcro access panels, or attachment points for banners and signage.
This is your last opportunity to make changes without impacting production timelines or costs. Once approved, the design is locked, and the technical team begins preparing manufacturing templates. If your project requires approval from multiple stakeholders (common for large brands working with agencies), build this sign-off stage into your timeline. Delays at the approval stage are the most common reason projects miss their target delivery date.
Step 4: Material Selection
Material choice has a direct impact on durability, weight, colour vibrancy, and suitability for indoor or outdoor use. The custom inflatable design process always includes a material specification stage, though for many projects the manufacturer will recommend the most appropriate option based on the intended use.
The most commonly used materials in inflatable manufacturing in the UK include:
- PVC-coated nylon – the industry standard for outdoor inflatables. Highly durable, weather-resistant, and available in a wide colour range. Typically used for arches, giant inflatables, and product replicas that need to withstand wind and rain.
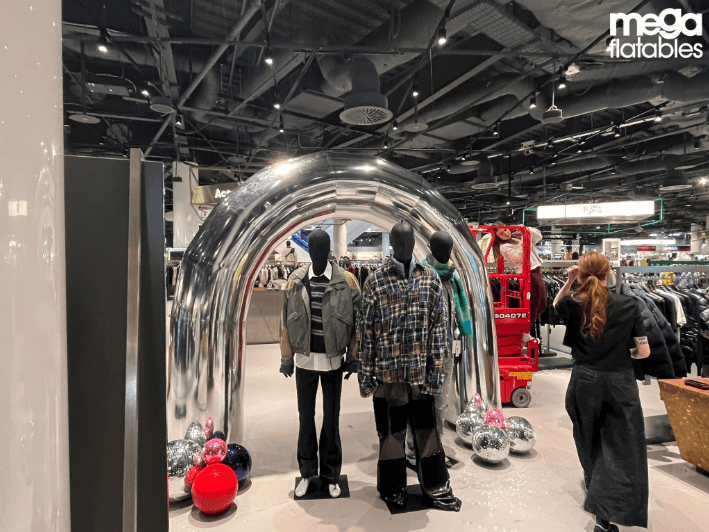
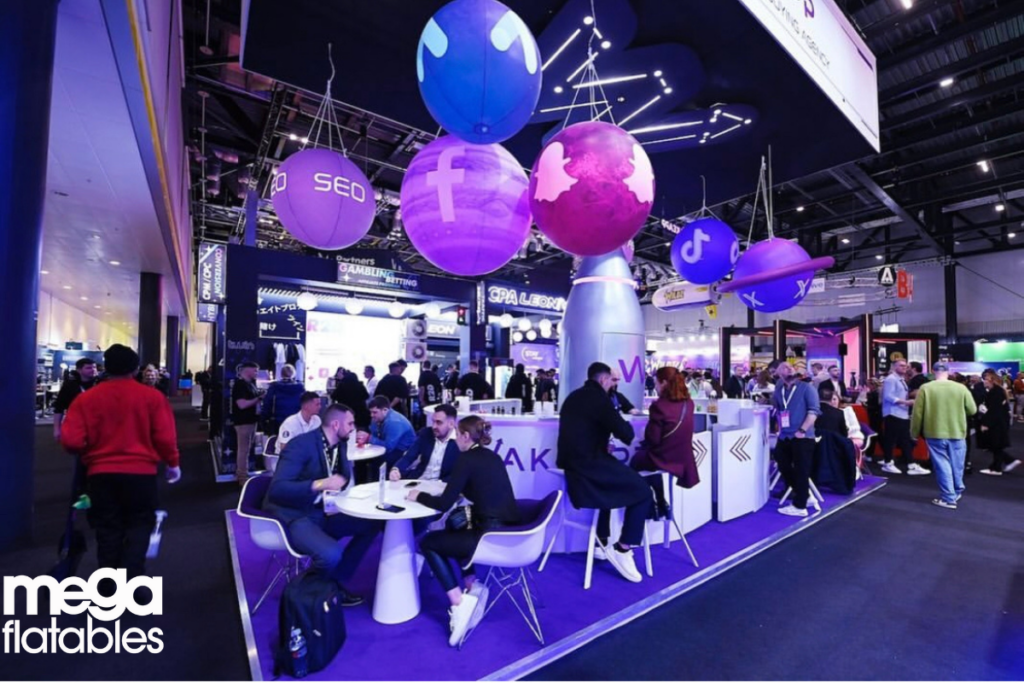
- Ripstop nylon – lighter weight and ideal for indoor displays, exhibition stands, and window installations where portability is a priority.
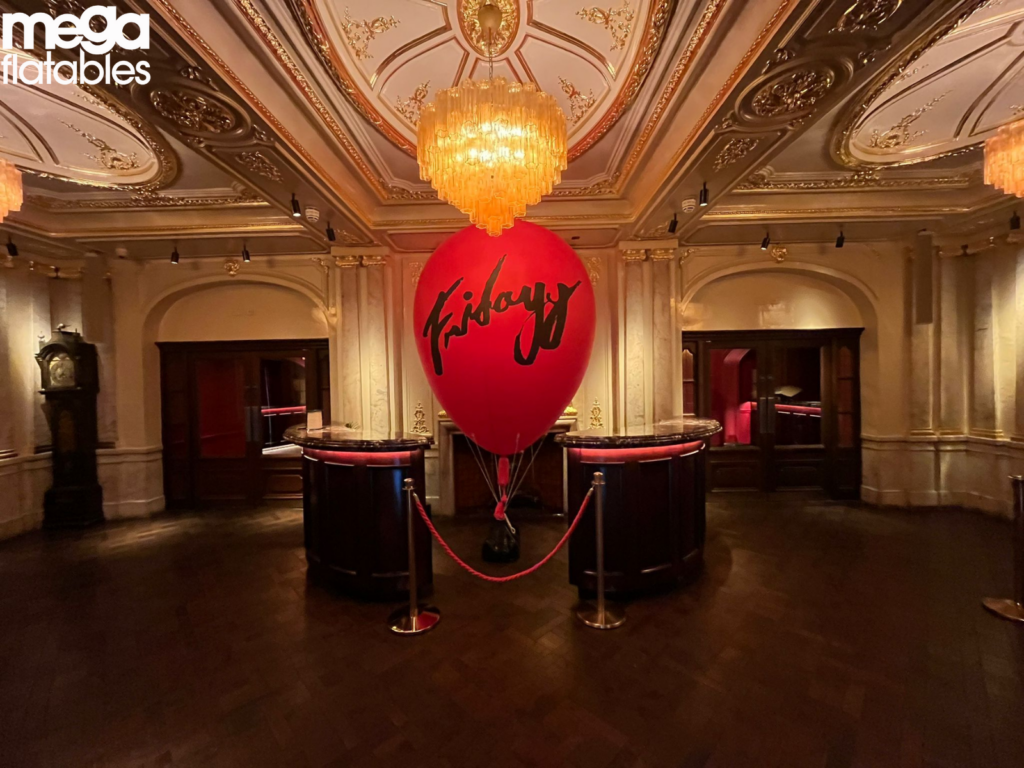
- Stretch lycra and spandex fabrics – used for inflatables requiring a smooth, seamless finish, particularly for projection mapping or glowing inflatables where internal LED lighting needs to diffuse evenly through the skin.
Your manufacturer should advise on the best material based on factors including expected wind conditions, frequency of use, storage requirements, and fire safety compliance. For indoor use in the UK, materials must meet BS 7837 or BS 5867 fire retardancy standards.
Step 5: Manufacturing and Production
With the design approved and materials selected, the project moves into production. The inflatable manufacturing process in the UK involves several distinct stages, each requiring specialist skills and equipment.
Pattern Cutting
The 3D design is deconstructed into flat panel patterns, similar to a dressmaking pattern but on a much larger scale. For a bespoke inflatable character standing at three metres tall, there might be 40 or more individual fabric panels. Each panel is digitally plotted and cut using CNC cutting machines to ensure precision.
Printing and Branding
Panels that carry logos, graphics, or full-colour artwork are printed using dye sublimation or UV digital printing, depending on the material. Dye sublimation produces vibrant, wash-resistant colour on polyester fabrics, while UV printing works well on PVC. Pantone colour matching ensures brand accuracy across the entire inflatable surface.
Welding and Stitching
Panels are joined using high-frequency (RF) welding for PVC materials or double-needle stitching with sealed seams for nylon fabrics. RF welding creates bonds that are actually stronger than the surrounding material, which is essential for inflatables that must hold internal air pressure under outdoor conditions. Reinforcement strips are added at stress points, around valve openings, and at any attachment locations.
Blower and Inflation System Integration
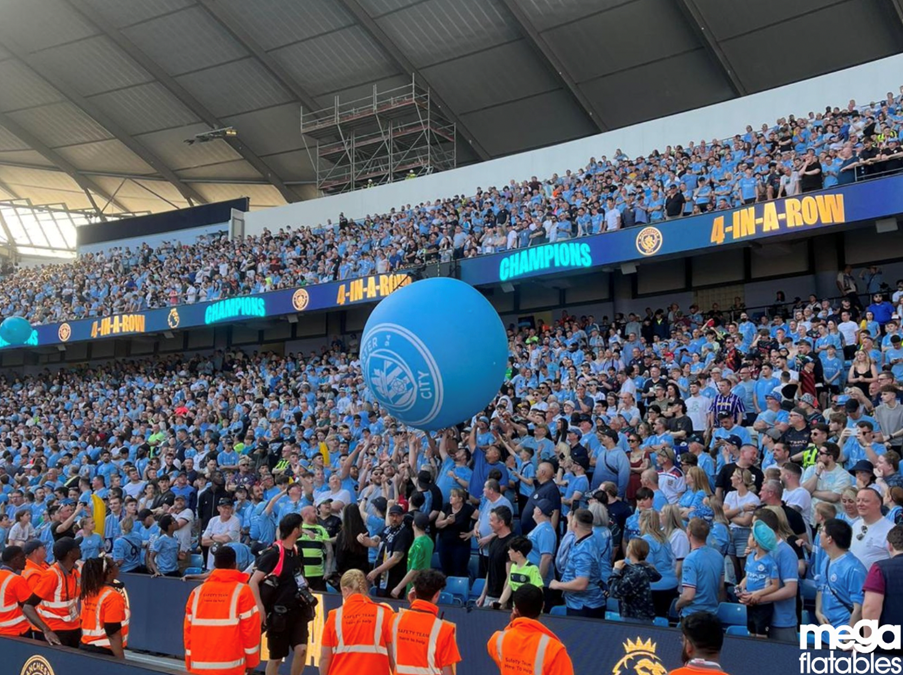
Most custom inflatables use a continuous-airflow blower system. The blower runs throughout the display period, maintaining constant pressure. Blower specification depends on the inflatable’s volume and the expected environmental conditions. A three-metre inflatable sphere might use a single 750W blower, while a 10-metre product replica could require multiple 1.5kW units. The manufacturer sizes and supplies the correct blower as part of the project.
Step 6: Quality Control and Test Inflation
Before any bespoke inflatable leaves the production facility, it undergoes a full quality control inspection. This involves inflating the finished product to its intended pressure and holding it for a minimum period to check for air leaks, seam integrity, and shape accuracy.
During test inflation, the production team compares the physical inflatable against the approved 3D renders. Proportions, colour accuracy, logo placement, and surface finish are all checked. For large or complex pieces, photographs and video of the test inflation are shared with the client for a final visual check before dispatch.
Quality control also covers ancillary components: blowers are tested for correct output, power cables are inspected, carry bags or flight cases are checked for fit, and all fixings, tethering points, and sandbag attachment loops are load-tested.
Step 7: Delivery, Installation, and Aftercare
The final stage of the bespoke inflatable brief to delivery process is getting the product to you in the right condition, at the right time, and in the right place. Delivery options vary depending on the scale of the project.
Inflatables are typically shipped via courier in a carry bag with the blower, power cable, repair kit, and user instructions.For high-profile events or multi-site activations, many clients opt for a full event management service that includes delivery, on-site installation by trained crew, monitoring throughout the event, and pack-down at the end.
Every custom inflatable should come with a care and maintenance guide, a repair kit containing matching fabric patches and adhesive, and clear setup instructions. Proper storage (clean, dry, folded rather than stuffed) extends the lifespan of a bespoke inflatable significantly. Well-maintained inflatables routinely last five years or more with regular use.
How Long Does the Entire Custom Inflatable Process Take?
A typical bespoke inflatable project from initial brief to delivery takes between two to three weeks. Simple designs with standard shapes and single-colour finishes sit at the shorter end. Complex multi-panel designs with full-colour printing, internal lighting, or unusual structural requirements take longer.
What Do You Need to Prepare Before Commissioning a Custom Inflatable?
To keep your project moving efficiently, gather the following before your first conversation with the manufacturer:
- Brand guidelines (logo files in vector format, Pantone references, font specifications)
- Reference images or sketches showing the desired shape or style
- The exact location and setting where the inflatable will be used
- Dimensions of the available space, including ceiling height for indoor installations
- Your target delivery or event date
- Budget range (this helps the manufacturer recommend the right materials and scale)
- Power supply information for the venue (some outdoor locations require generator hire)
Having these details ready at the brief stage saves time and reduces the number of revision rounds during design.
Start Your Custom Inflatable Project Today
Whether you are planning a brand activation, a festival centrepiece, or a retail window display, the process of commissioning a custom inflatable follows the same proven path: brief, design, approve, build, test, deliver. At Megaflatables, we have refined this process across hundreds of bespoke projects for clients including Google, Nike, Disney, M&S, and Harrods, and it works just as effectively for first-time buyers as it does for global brands.
If you have a concept, a deadline, or even just a vague idea you want to explore, get in touch with our design team to start your custom inflatable project today. We will guide you through every stage and deliver something that makes people stop and look.